15. Rover Control
14 Rover Controls
1- Download the Updated Rover simulator for Windows or MacOS. Optionally you can download it for Linux, note that this version will not work in your VM!
Follow these steps if the app failed to run on MacOS:
- Right click the .app file and select Show Package Contents.
- Rename the folder to Contents.
- Open a Mac Terminal
- Run this command:
sh chmod 755 RoverSim_MacOS_64Bits.app/Contents/MacOS/TestingMac - Go to System Preferences
- Select Security & Privacy
- Unlock and enter your password
- Allow the app to be loaded
2- Edit your VMWare or VMFusion network settings and make sure you are connected to the NAT network:
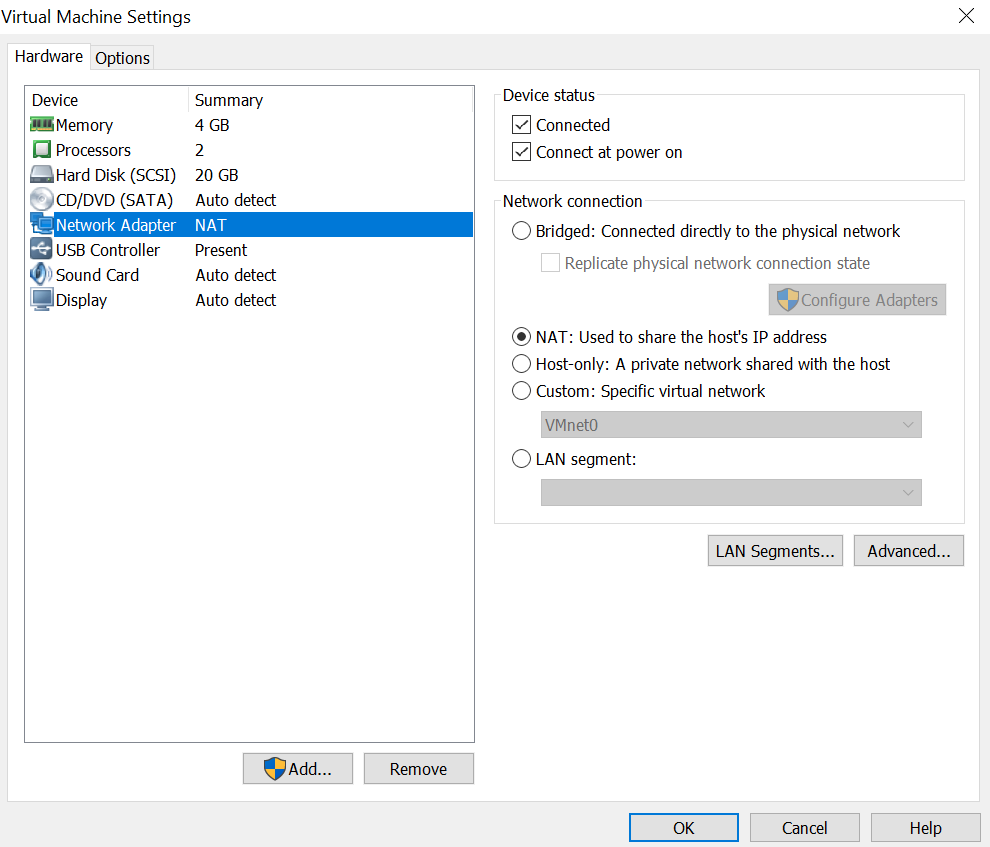
Windows VMWare
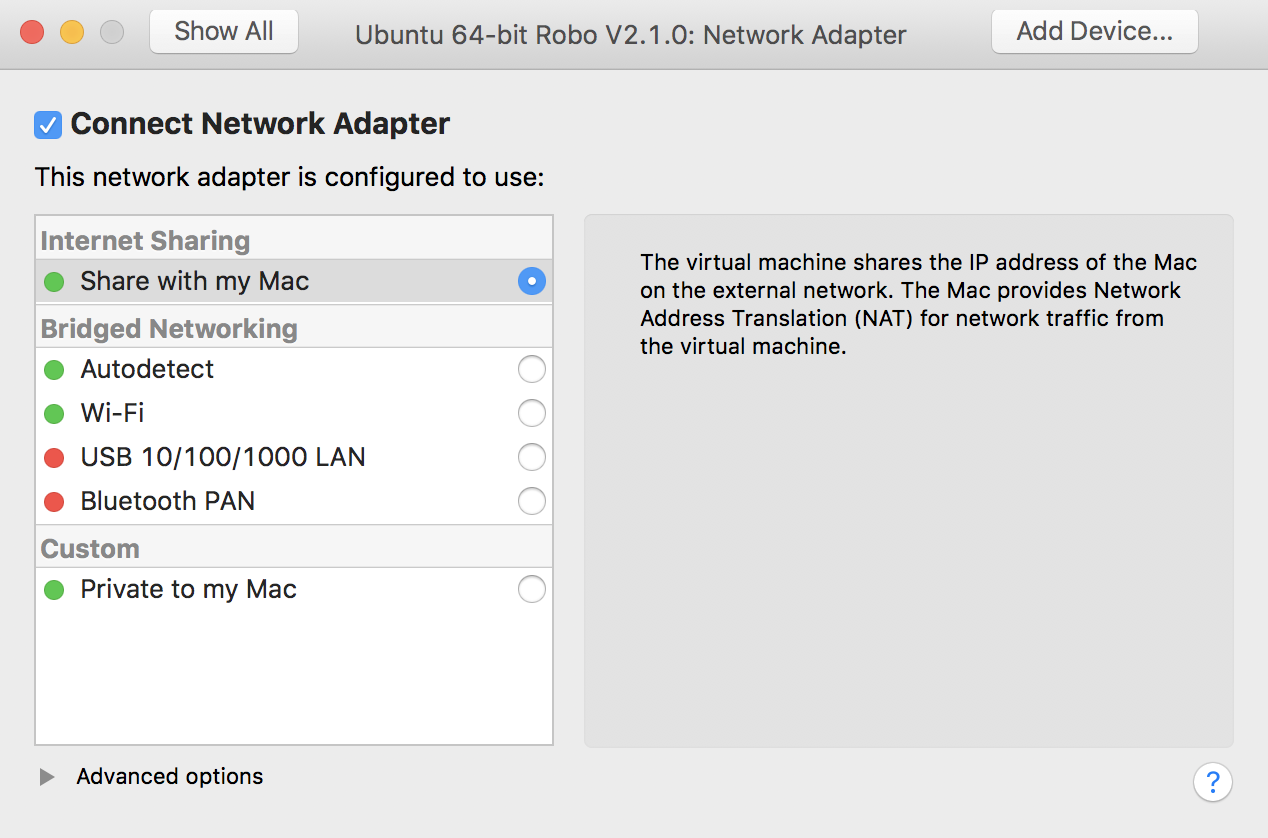
Mac VMFusion
3- Navigate to Desktop and clone the GitHub repository:
$ cd Desktop
$ git clone https://github.com/udacity/RoboND-Control_Rover.git
$ cd ~/Desktop/RoboND-Control_Rover
4- Now, compile the code:
$ g++ Main.cpp -o app5-Before your run the program, take note of the IP address of your virtual machine:
$ ifconfig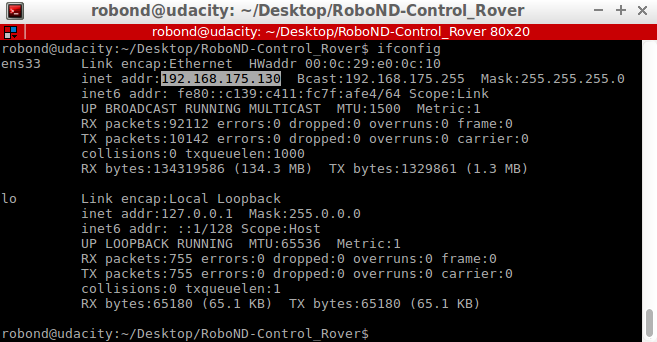
6- It’s time to run the program:
$ ./app7- Leave your virtual machine and run the simulator. Then, select your graphics settings and enter the IP address of your Ubuntu noted earlier:
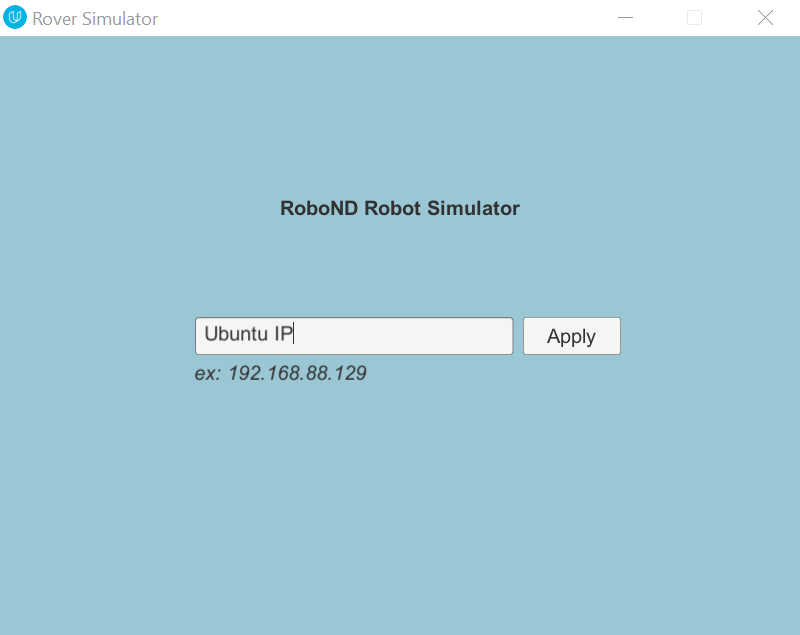
Windows Simulator
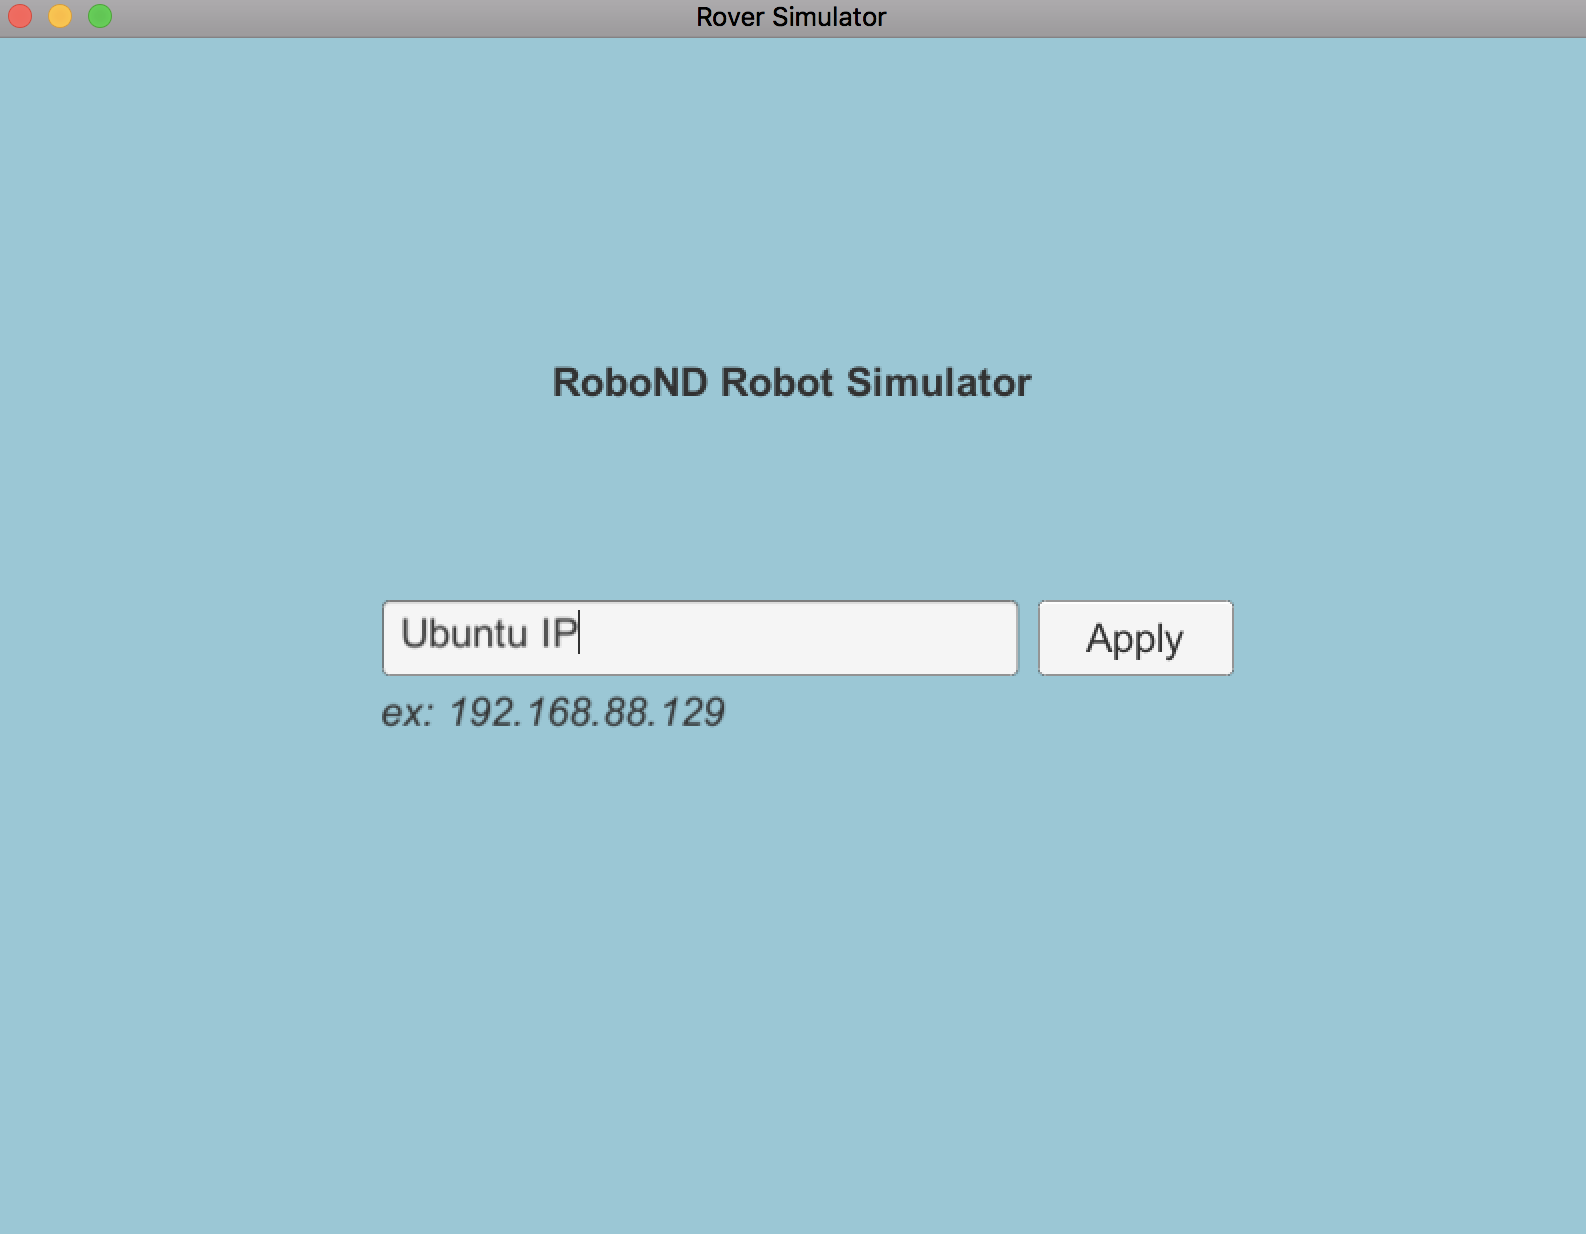
Mac Simulator
8- Select the Autonomous mode designed to accept TCP Communication!
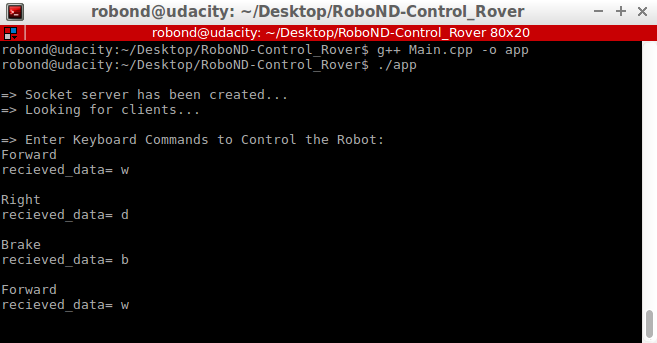
9-Refer to this table and control your robot with keyboard commands through the Ubuntu terminal:
| Command | Description |
|---|---|
w |
Forward |
s |
Backward |
a |
Left |
d |
Right |
b |
Brake |
p |
Pickup Ball |
10- Finally, while controlling your rover, you can visualize your keyboard commands being bounced back by the simulator (client):
Switch Statement Syntax